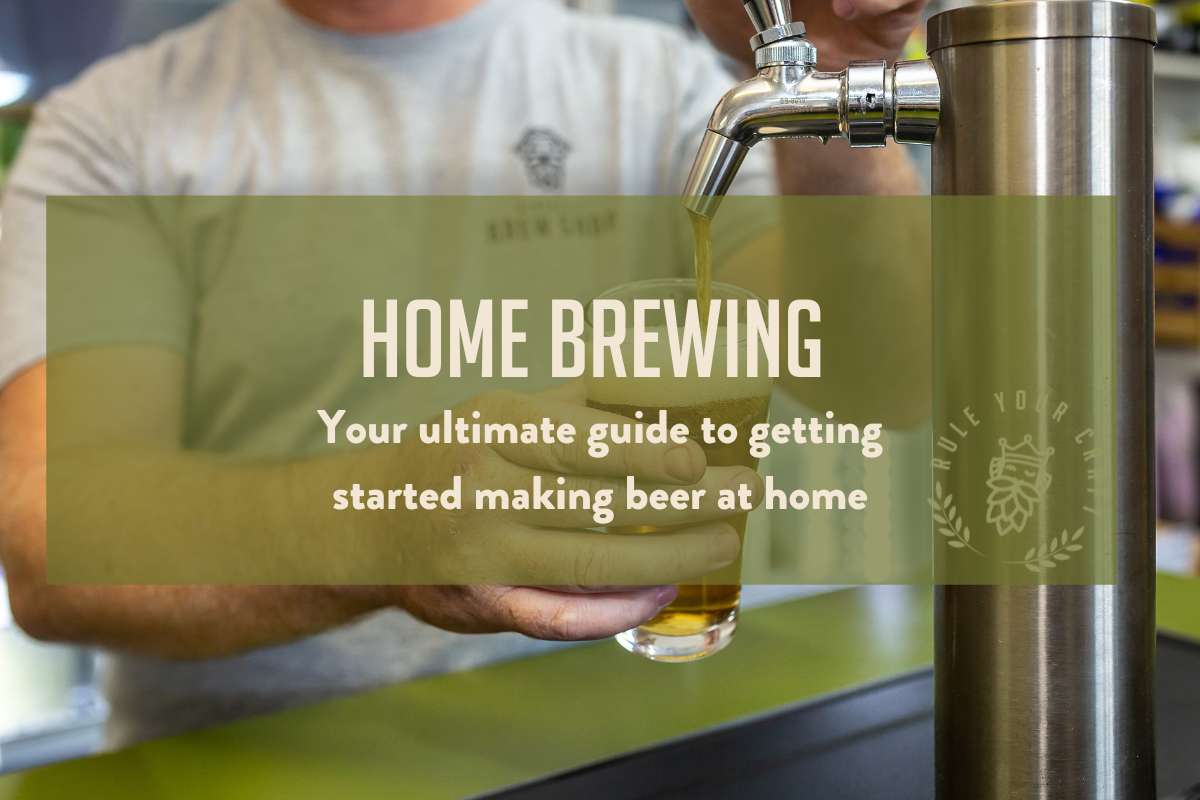
The Ultimate Guide to Home Brew Beer
Home brewing - it's the world's most delicious hobby.
The days of your Dad's mediocre shed-brews are gone. The new era of homebrewing means you can brew beer at home that tastes as good (if not better) than beer from the bottleshop. All for a fraction of the cost.
Anyone can do it… seriously! Crafting a great tasting beer at home is a breeze and a whole lot quicker than you might think.
Beer tastes have come a long way from simple lagers, ales and stouts. The good news is, so have homebrews. The range of ingredients makes it easy to replicate anything at home, from an old favourite like Tooheys New, to an easy-drinking pale ale or hoppy hazy.
Best of all, brewing your own beer will save you some serious dough. Australia’s most popular craft beer, Stone and Wood’s Pacific Ale, sets you back about $3.30 a stubby. A Byron Beast Extract Can Recipe Kit makes a similar style of beer for around 69 cents a stubby. What a bargain!
Along with gaining impressive new brewing skills, we bet you’ll make new friends and have loads of fun along the way. Enter the world of homebrew and there’ll be no looking back… take our word for it!
HOW DO YOU ACTUALLY BREW BEER?
The practical stuff.
What types of beer can you homebrew?
Any kind you fancy! Pale ale, lager, pilsener, red ale, stout, wheat… the list goes on. Take a look at 70+ recipe kits for inspiration and everything you need to brew the beer you love.
How much time will you need?
The initial process is surprisingly quick when using an Extract Can Recipe Kit, like you get in a Starter Kit, or even faster if you’re using a Fresh Wort Kit.
Here’s a guide on timing but, as with all new things, allow extra time for your first brew until you’re comfortable with the process.
Brewing: 1 Hour
Yep! You can have your brew in a fermenter ready for the yeast to do its thing in less than an hour. This gives you enough time to clean and sanitise your brewing equipment, boil water, mix the ingredients, and take a hydrometer reading. Then, just fit the airlock and let the sweet magic begin.
The longest (or should we say hardest) part is waiting for your beer to brew. This takes around 5-10 days depending on your beer (check your recipe for instructions), plus allow a minimum of 2-3 weeks (or a couple of months for best results) for the beer to carbonate in bottles.
Bottling: 1 Hour
Allow an hour to sanitise your bottles, set up your bottling tube, put in carbonation drops, and bottle and cap your brew.
When bottling, put your fermenter above the level of your bottles, like a kitchen bench or table. Make sure you grab a comfortable stool to give your knees and back a rest!
TIP: Use the piggy-back method – sanitise the first few bottles by filling with sanitiser and let it sit for 2 minutes. Just before filling a sanitised bottle with beer, use a funnel to transfer the sanitiser solution to the next empty bottle.
Repeat until all your bottles are done. You will need to top up the sanitiser at some point. It can be handy to have a tub to hold all the bottles and catch spills or overflow.
Kegging: 30 mins
A much quicker process than bottling, 30 minutes is more than enough time to clean and sanitise your keg and transfer your beer.
It’s as simple as setting up a gravity feed tube from the fermenter to the keg. You’ll need a tube long enough to reach to the bottom of the keg, so you can fill from the bottom up and reduce oxidation.
Once the beer is in the keg, connect it to the gas to carbonate and make the bubbles. Set the gas at 40 psi and leave for 24 hours.
How much space do you need?
Very little… honestly! Having a dedicated brew space is an awesome goal but not essential. Access to water is key, so lots of people start in their kitchen, bathroom or laundry.
Brew Day
A clear kitchen bench is all you need. Clean down and place everything within easy reach. Give yourself enough space to move around, move the fermenter and stir the ingredients. As a guide, 2x2 metres is great.
Fermenting
Before you start brewing, think about the space you’ll use for fermentation, such as under the stairs, in the garage or a temperature controlled fridge.
Once full, put your fermenter in a cool, dark place with a consistent temperature (18-24°C is ideal).
When Can I Drink My Beer?
We know, you’re excited. Your beer is brewed and bottled. But when can you tuck in? We recommend you take it slow and wait for your beer to settle and carbonate. You’ll notice the beer slowly change over time.
Bottling - 2-3 months
Allow 2-3 months for your beer to be ready. There is no harm in drinking your beer earlier, it will serve as a great comparison and help you learn more about the brewing process.
Kegging
If you’re kegging your beer you can speed the carbonation process up and force carbonate your beer using CO2 in as little as 24 hours. Technically you can drink it after 24 hours, but patience is rewarded - it will taste better if you leave it to mature or condition for a week or 2.
HOME BREW INGREDIENTS
Know your brew.
Beer is made from 4 key ingredients:
-
Grains form the base of your beer
-
Hops add flavour and aroma
-
Yeast makes the magical fermentation process happen
-
Water makes up about 90% of your beer (so it must be good for you, right?)
Basic Ingredients
Extract Can
Most beers begin with grain – the malt extract being mashed grain. This process of crushing grain and mixing it with water is known as ‘mashing’.
Big batch breweries take this ‘extract’, remove all the water and can it to create a concentrated extract.
Yeast
The small magical sachet underneath the cap of your extract can is yeast. This fascinating microscopic organism is responsible for transforming your wort into beer, kicking off the fermentation process.
Using the yeast that comes with the can is ok to get you started, however, you can make better tasting beer by experimenting with premium brewing yeasts. Like extract cans, there are different yeasts for different types of beers.
Hops
Hops are an essential ingredient in any beer.
Hops are flowers that help keep beer fresher for longer and retain its head of foam. Initially hops were used in beer as a preservative.
Hops are also a key component of a beer’s aroma and taste, adding that signature “hoppy” flavour and bitterness. Experiment with different varieties to give your beer a tropical, floral or citrusy aromatic punch.
Whilst there are many different varieties of hops available, each adding their own attributes to the flavour profile of beer, there are two general varieties - bittering and aroma.
HOP TIP:
Fermentables
These are the sugars that yeast digest to make alcohol. They give your beer all the good stuff: colour, flavour, mouth-feel, and sweetness. They come in different forms including dry malts, liquid malts, dextrose, lactose and honey.
EXTRACT CANS VS FRESH WORT KITS
There are 3 ways you can brew beer at home:
-
Extract Cans
-
Fresh Wort Kits (FWK)
-
Grain brewing
For the new brewer, you’ll most likely start with Extract Cans and Fresh Wort Kits. (Grain brewing is a much longer process and requires different gear).
We recommend trying both. Start with the Extract Can and try out a FWK when you have a handle on the process.
An Extract Can contains malt extract which is then mixed with water, some extra fermentable sugars and finally yeast. By doing so, you are making a wort (the liquid you make to brew beer).
Extract Cans are a fun way to experiment. Take cues from your favourite brews and add this and that to recreate your favourite flavours. Check out some of these great recipes for some inspiration
This option is relatively simple and helps you get familiar with the initial brewing process.
A Fresh Wort Kit will usually come straight from a brewery in its liquid form (by the way, wort is pronounced ‘wert’). Usually in a 15l bladder enclosed in a box. Simply pour it into a sanitised fermenter, top up with water (if recipe requires) and ‘pitch’ the yeast (sprinkle yeast over the top of the liquid).
A FWK takes a few steps out of the initial process and because it is usually made in a commercial brewery, you can rely on the consistency of the brew.
You can get a FWK in loads of styles of beer, plus you’re likely supporting a local brewery. Take a look at what we have in stock.
EQUIPMENT
Essentials to brew your first batch.
Like every hobby, you can start with the basic equipment and work your way up into the shiny toys (or just go straight to the shiny).
Good news is, it’s possible to achieve great results with a few inexpensive essentials:
-
Starter Kit: where most home brewers start and includes everything you need to bottle your brew.
-
Fermenter: to make your beer in - it can be plastic, stainless steel or a pressure fermenter.
-
Bottles or Kegs: to store and serve your beer from.
Starter Kit
A basic Starter Kit costs less than $100 and has everything you need to brew and bottle your first batch of beer (that’s 30 x 750ml bottles). That’s approximately $1.60 per 350ml serve, plus now you’ve got all the gear to keep brewing.
What’s in a Starter Kit?
-
30L Fermenter: the big tub to make your beer in
-
Hydrometer: a fancy-sciencey tool for calculating the ABV (Alcohol By Volume) of your finished beer
-
Brewers Spoon: a long spoon to mix everything up
-
Bottling Valve: a long tube that attaches to the fermenter to make bottling your beer easier
-
Stick on Thermometer: goes on the side of the fermenter so you can easily monitor the temperature of your brew
-
30 x PET bottles and caps: plastic bottles for your beer to go in
-
Tap: a simple plastic tap so you can get the brew out of the fermenter
-
Airlock: once your brew is in the fermenter this will help stop air, bugs and other nasties from getting in
-
Brewing ingredients: everything you need to make your first extract brew
-
Sanitiser: to keep everything clean. Dirty gear = dirty beer
-
Carbonation Drops: used when bottling your beer to start the carbonation process (and add bubbles)
-
Instructions: easier than some Lego sets!
To make life easy for you, we’ve packaged up a range of starter kits from the basic box to bottling kits with a few extra handy things, pressure fermenting kits and for brewers that want to go all in, pressure fermenting and kegs. You can check out what’s in stock here.
Extras we highly recommended
Make brew day easier with a few inexpensive extras. You’ll thank us later!
-
Spray Bottle: use to spray your water:sanitizer ratio quickly and easily on equipment to keep things clean and sanitised.
-
Second Fermenter & Clear Hose: a second fermenter is a great way to take your brew off the sludgy stuff from the bottom of your brew, achieving a clearer result in the end. It’s called racking and clearing and is a cost-effective way of achieving a better result. Shop fermenter options here
-
Fresh Water Hose: when you fill your fermenter with water after making your wort, it is a good idea to get a ‘Drinking Water Hose’ from a hardware or outdoor supply store (it's the blue hose). Why? To ensure you are putting clean water in to make your beer. We all remember the taste of drinking from a garden hose as a kid… you don’t want that flavour in your beer!
Other handy things
These nice-to-haves will help you achieve better results.
-
Better Sanitiser: your Starter Kit will come with a sanitiser, however, it’s a good idea to use a quality foaming sanitiser like this one. A little goes a long way. Don’t be worried about the foam and bubbles, it won’t harm your precious beer!
-
Temperature Equipment: temperature control is an important part of the fermenting process (we’ve written this article all about it). A heat belt (or heat pad) and temperature controller is useful. They aren’t necessary to make beer but give you more control during the fermentation process.
TIP: There are many different ways to regulate the fermentation temperature. We find that fermenting in an old fridge/freezer with a temperature controller and a heat belt is the best bang for buck to brew all year round without worrying about temperature fluctuations.
KEG YOUR BEER
Go on, impress your mates.
Kegging your beer is the next step. It requires an initial investment but has lots of advantages:
-
Avoid having to sanitise dozens of bottles every time
-
Beer goes in fresher and when done properly you can avoid all contact with oxygen, preventing beer spoilage
-
Reduce the waiting time of bottling as the CO2 will carbonate the beer
-
Have beer on tap at home!
What equipment will you need?
The Keg
Sizes are available from 6.5 litres all the way up to commercial 50 litre sizes, the most common being 19L corny kegs (which fit perfectly into Kegerator fridges).
CO2 Tank
This gas bottle is responsible for carbonating your beer and pushing beer out of the keg and into a glass. We sell 2.3kg, 4.5kg and 6.8kg common sizes and offer a Swap‘n’Go service to make sure you always have enough gas when it comes time to serve your beer.
Regulator
Because a tank of CO2 is under a lot of pressure, you’ll also need a regulator. This is simply a valve that lowers and controls the pressure of the CO2 as it is released from the tank. It has two dials – one to measure the pressure in the tank, and the other to measure the amount of pressure coming out of the tank and into the keg.
Beer Tap
You need a way to dispense your precious beer. Be it a beer (or pluto) gun or a tap, there are cost-effective solutions for you to do this.
Refrigerator
You won’t win friends with hot beer, so you’ll need a fridge to put your keg(s) in. Kegerators are an off-the-shelf fridge available in a range of sizes with everything you need to pour great beer - check out the options.
If you have an old fridge or chest freezer lying around the house, put it to good use and make your own keg fridge or keezer. We can help with all the parts you’ll need.
DIRTY GEAR = DIRTY BEER
Your new mantra.
Cleanliness is paramount to the success of your beer tasting good. Absolutely everything the beer touches must be cleaned and sanitised.
The cleaning process is relatively straightforward – clean as you would your pots and pans. Don’t use dishwashing liquid, there are many quality cleaners available and make sure don’t leave residue in the bottom of your fermenter!
Sanitisation is important. We recommend a good foaming sanitiser, mixing the recommended water:santiser ratio in a spray bottle for easy application. Spray everything out initially and if you’re still worried, you have a handheld spray bottle ready-to-go.
Some homebrewers put all their gear into the fermenter with the sanitiser solution and water, slosh it around and get everything out. Easy peasy.
A pair of (sanitised) long handle tongs goes a long way too when fishing equipment out of your fermenter.
If you keep this top-of-mind, you won’t go wrong.
RULE YOUR CRAFT
What’s Next?
Once you’ve started homebrewing, there are loads of different ways you can explore this craft and try different things:
-
Keg your beer
-
Experiment with beer different styles
-
Test out different ingredients and equipment
-
Try partial mash brewing (that’s lingo for adding some grains to your extract can)
-
Join a homebrew club… even better, join ours!
Our mission is to help you to #ruleyourcraft and make great beer at home. Our best advice is to start small, experiment and ask lots of questions along the way.
Our brew crew are all homebrewers and we’re here to help. Become a part of our great community where we are all learning, sharing, and enjoying tasty beers (ok, some have been a bit dodgy, but we’ve learnt from our mistakes!).
If you’ve got questions, get in touch.